The Destination feature in Moder allows different Moder platforms to cross-sell each other’s properties. This feature is not enabled by default, and must be activated by contacting Moder Support at support@moder.fi.
Because this feature involves cooperation between two separate parties:
- the Destination (the Moder platform receiving properties), and
- the Partner (the Moder platform providing properties)
- A written agreement is required from both sides before linking the properties.
TABLE OF CONTENTS
- We want to sell our partner’s properties on our Moder platform — what do we do?
- How to set up virtual room types in the Destination Moder
- How extra Services and scheduled messages work
- GuestApp
We want to sell our partner’s properties on our Moder platform — what do we do?
- Contact Moder Support at support@moder.fi and request the cross-selling feature (called “Destination” in Moder).
- Support will confirm when the feature has been activated.
- Once active, you’ll see a new section called Destination under your Moder logo.
- Both you and your partner must send a written confirmation (email is enough) to support@moder.fi, confirming that you both wish to enable cross-selling.
- After receiving confirmation from both parties, Moder’s technical team will link the Partner Moder properties to your Moder platform.
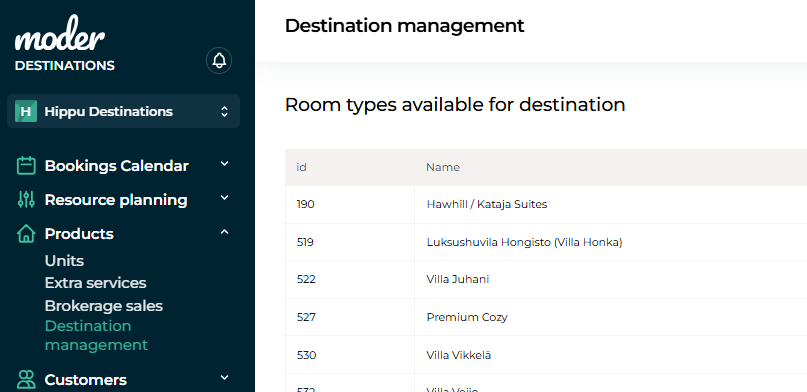
- Once the connection is ready, you’ll see the linked properties in your Destination view (Properties → Destination).
- Next, you’ll need to create virtual room types for these properties in the Destination Moder so that they appear in your booking calendar and web shop.
How to set up virtual room types in the Destination Moder
- Go to Products and click Add product:
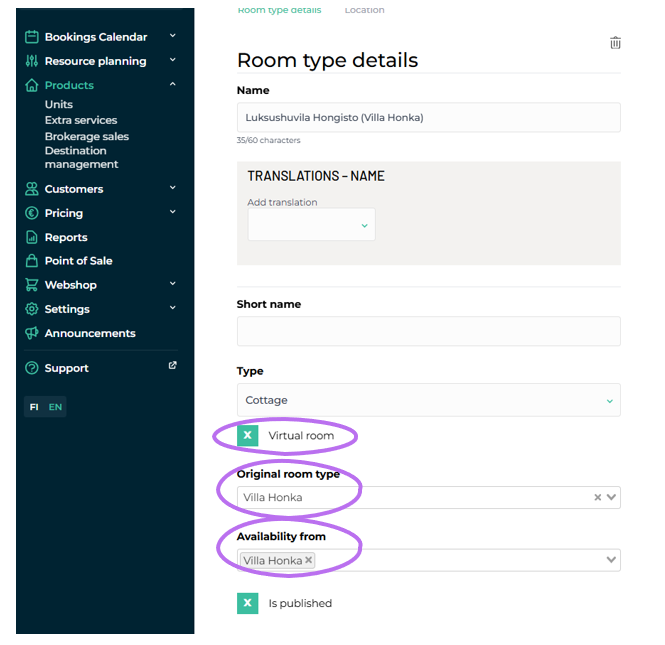
- On the first page (“Room type details”):
- Enter a name and select the type of accommodation.
- You can use the same name as in the Partner Moder or create your own (e.g., Hawkhill – Villa Adele) to indicate whose property it is.
- Enter a name and select the type of accommodation.
- Check the box Virtual room.
- Under Original Room Type, select the Partner Moder property you want to import.
- Under Availability From, select the same property.
Still on the same page, add:
- Size (if known)
- Number of guests
- Number of bedrooms
- Number of bathrooms/WCs
- Click Save and Continue.
On tab 2 (“Location”), add your own arrival instructions. These will appear on booking confirmations and in GuestApp.
Images, descriptions, and pricing are automatically imported from the Partner Moder.
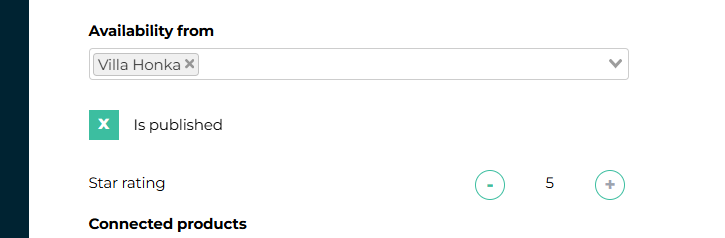
Finally, publish the property to your web shop by checking the box Is published (bookable):
Viewing and booking destination properties
Linked Partner Moder properties will appear in your booking calendar (a blue “link” icon indicates a connected property).

You can make reservations normally, but for virtual room types, you must select the linked property from the dropdown field:
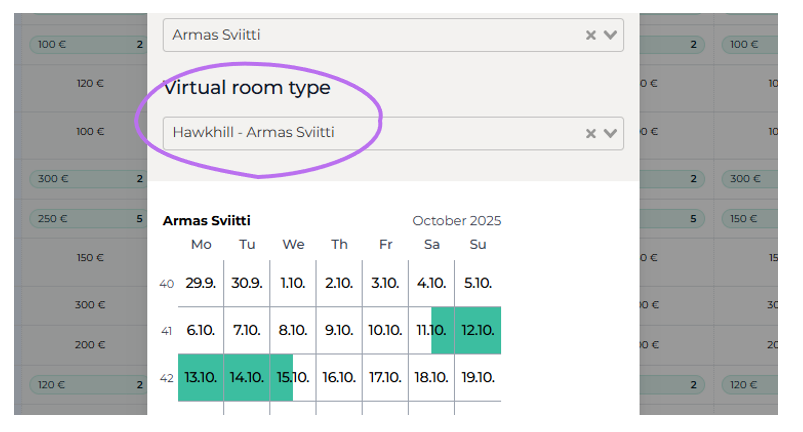
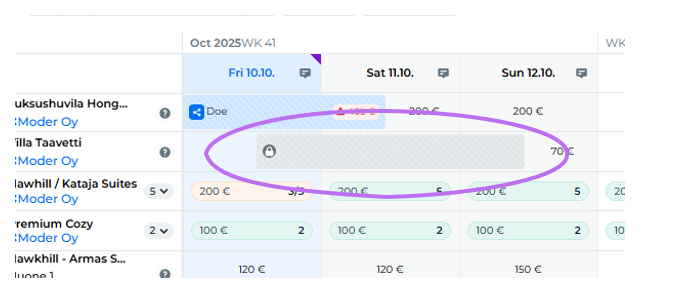
Booked periods already reserved in the Partner Moder appear with a lock icon:
How extra Services and scheduled messages work
Extra services
The same extra services available in the Partner Moder will automatically appear in your web shop.
You can also create custom extra services in your Destination Moder — these will only be available in your own shop.
Scheduled messages
The guest will receive scheduled emails from both Moders — the Partner’s and yours.
The door PIN code is always sent from the Partner Moder, so you should not enable scheduled SMS messages for cross-sold properties in the Destination Moder.
GuestApp
Information shown in GuestApp:
From Destination Moder
- Contact information
- Company details
- Arrival instructions
- Booking details
From Partner Moder
- Property images
- Door PIN code
- Check-in instructions
Was this article helpful?
That’s Great!
Thank you for your feedback
Sorry! We couldn't be helpful
Thank you for your feedback
Feedback sent
We appreciate your effort and will try to fix the article