Managing bookings: Booking Hub
Last updated: August 21, 2026
Booking Hub is the central for your bookings. It is used when you want to view or edit an existing booking collection or an individual booking. With the preview, you can easily navigate from the booking details to invoices and payments, as well as to booking confirmations. You can now also manage group/collection bookings easily from the same view.
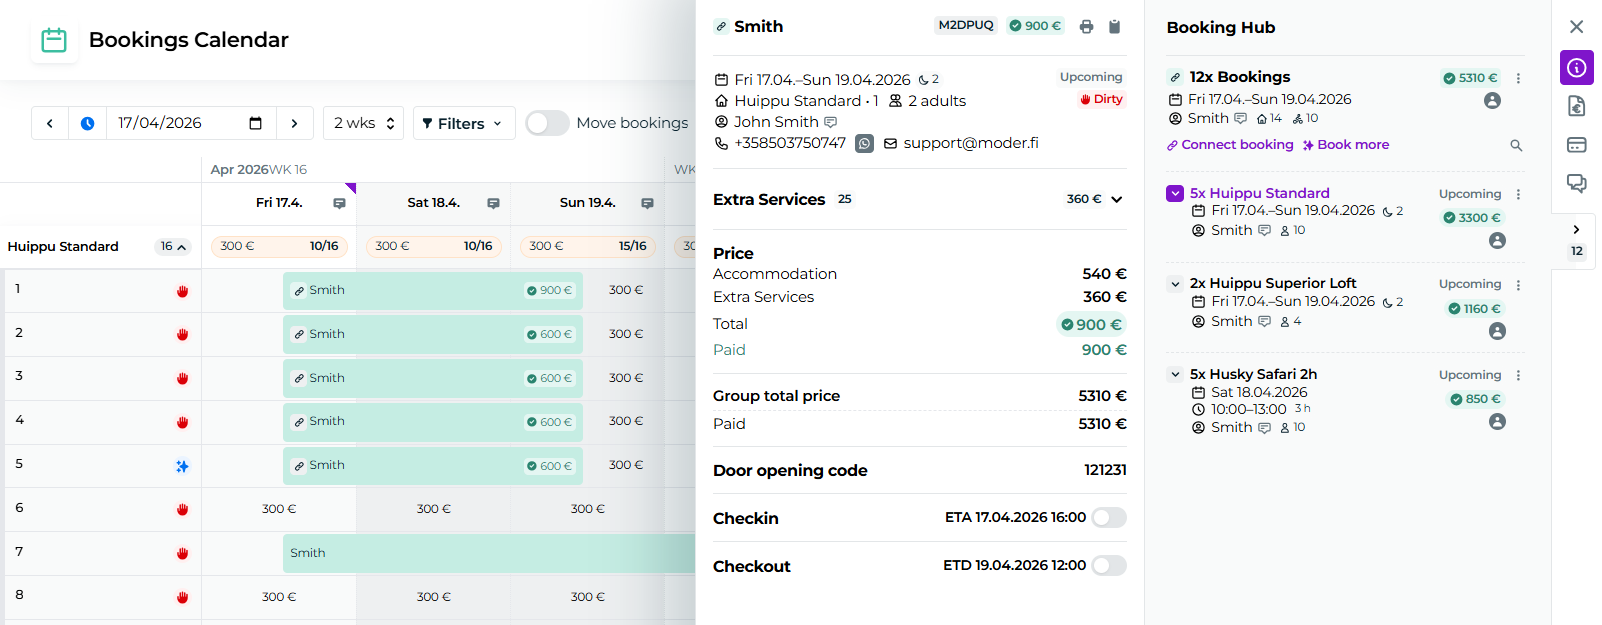
Key features:
Booking Hub attaches to the right side of the page, and you can simultaneously view other pages such as the booking calendar, invoice list, or even the add-on services view.
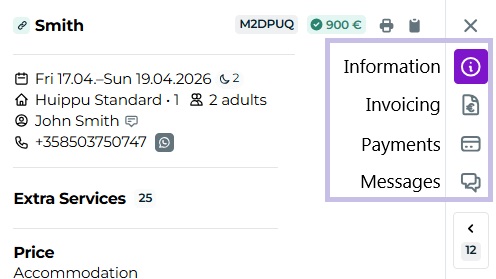
The tabs are attached as icons on the right, allowing you to conveniently navigate directly to the following sections:
Info
Invoicing
Payments
Messages
Collection
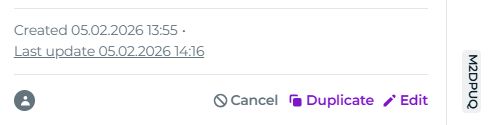
From the bottom you can view the change history, cancel, create a copy, or edit the booking
With the three-dot quick menus you can now even edit, cancel, or move the reservation directly from the Booking Hub view
In this guide we cover all booking preview and collection sections, tabs and panels, so please note the table of contents. Jump to your specific item directly using the list's direct links ✨
Overview
When you open a reservation, Booking Hub opens on the right side of the page:
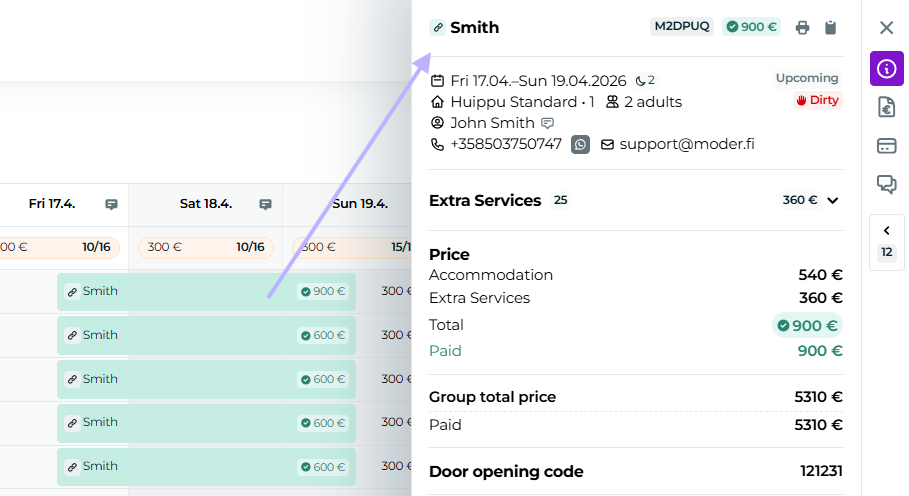
You can access Booking Hub not only via the calendar but also from the bookings list or directly from the invoice.
From the top row you always see the customer's name, booking number, price, and you can print the order or passenger notice:

The tabs are located on the right:
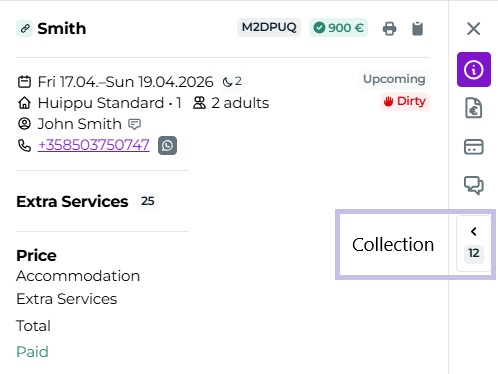
From here you expand or collapse the collection panel:
From the bottom row you find log information, and you can cancel the reservation, create a copy of it, or modify the reservation:
Tabs
With the tab menu you navigate smoothly between different views.
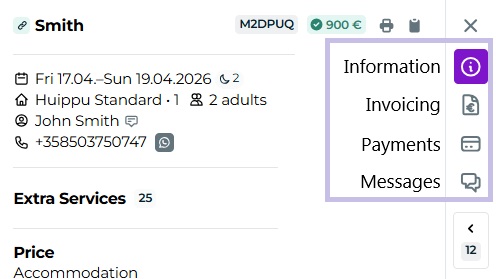
Info: booking details summarized
Invoices: create and manage invoices
Payments: create and manage payment entries
Messages: send confirmation and view GuestApp
Collection: manage the entire bundle - this is especially handy for handling large bookings
Info
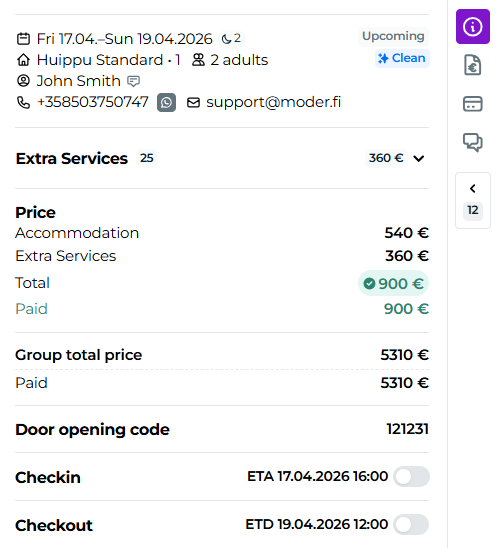
On the Info tab you see the booking details summarized.
Booking- and customer details, check-in and cleaning status
Additional services
Price and what it consists of
Door code
Checkin and checkout functions
Booking details
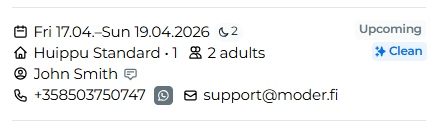
From the Booking details we can see the reservation dates, the number of nights, check-in and cleaning status, room type, how many people are in the reservation, the booker's name, phone number, and email.
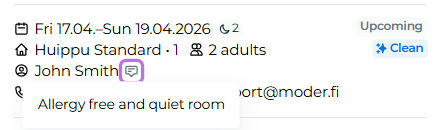
If additional information has been added to the customer profile, you can see the details by clicking the speech bubble next to the booker's name:
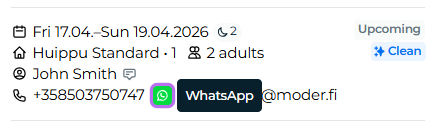
A WhatsApp button is now also available after the phone number:
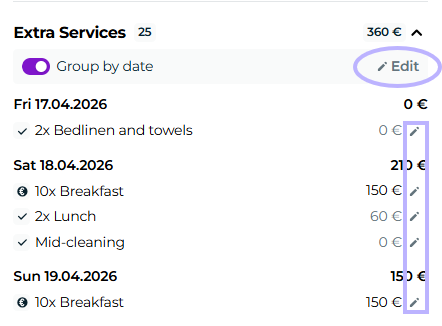
Extra services
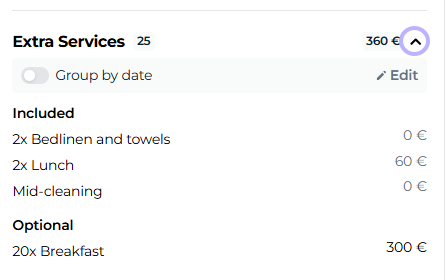
From the new extra services section in the info view you can directly see all additional services added to a reservation. You can open and close the view using this button:
You can also conveniently group the view by date:
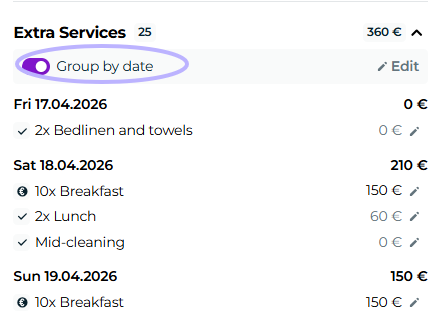
From the pencil icons you can also easily edit additional services directly:
Price
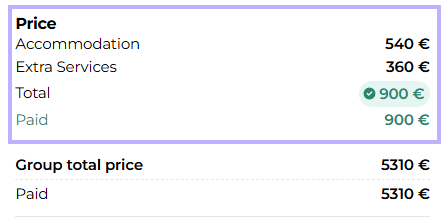
From the price panel you can see the booking's prices directly.
Accommodation
Extra services
Total
Payment status
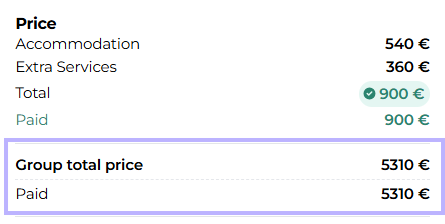
If the collection contains more than one booking, you will also see the total price of the collection and the payment status below:
Invoicing
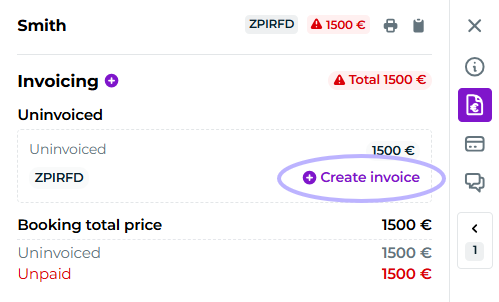
On the invoicing tab you create and manage invoices. If the reservation does not yet have an invoice, you can create it by clicking +Create invoice button:
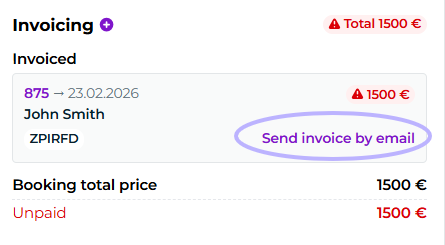
Once the invoice has been created, you can go to the invoice or send the invoice to the customer's email directly from this view:
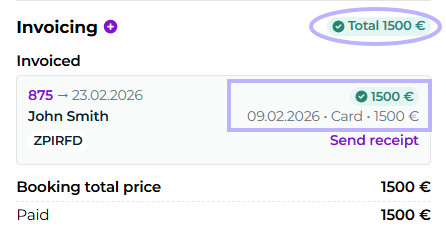
When the invoice is paid, the amounts turn green, and you can see when the payment entry was made, as well as the payment method:
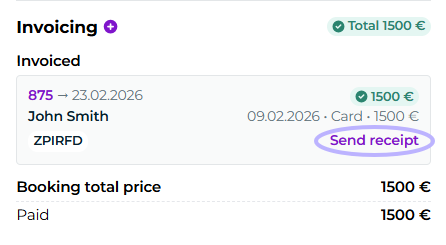
You can also send the receipt directly to the customer's email:
More on creating and managing invoices in this guide:
📄 Invoices & payments: payment link and PDF invoice
Payments
In the Payments view you can easily manage reservation payments. The Payments view is divided into two parts, invoices and only reservation payments.
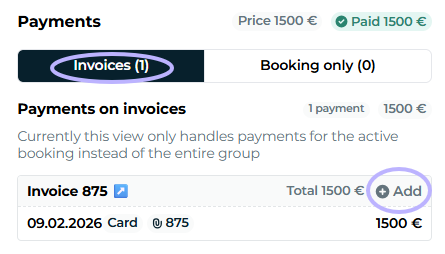
If you want to add a payment to an invoice, please use the Invoices tab:
If you want to add a payment to the booking only, please use the "Booking Only" tab:
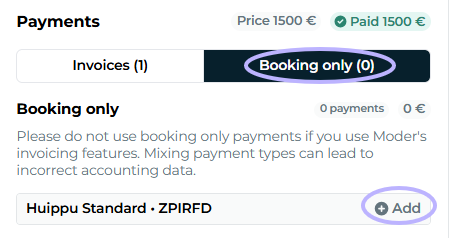
Please note that in Moder, receipts always refer to an invoice, so if you make a payment entry for the booking only, a receipt will not be available for the payment.
Booking-only payment entries and invoice payment entries cannot be used at the same time, so please check before adding a payment that the reservation does not already have an invoice.
Add more about payment management in this guide:
📄 Invoices & payments: payment entry and receipt
Messages
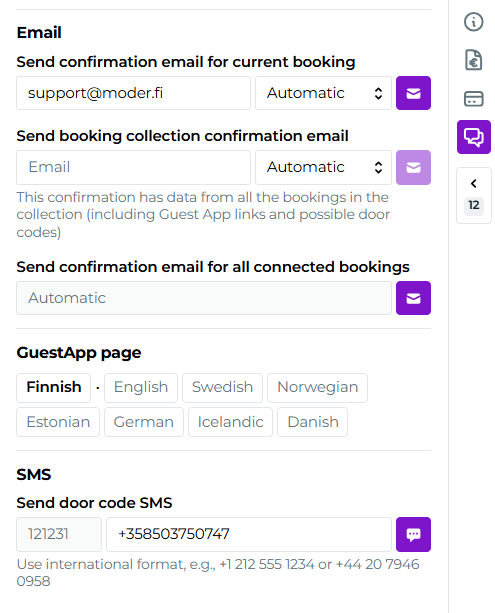
You can send your customer, e.g., booking confirmation, group booking confirmation (i.e., a summary message) and if needed door code. You can also view the customer's GuestApp site.
Moder automatically pulls email confirmations and the phone number for the door code from your reservation, but you can edit these to other ones if you wish. Messages to customers are sent from the buttons below:
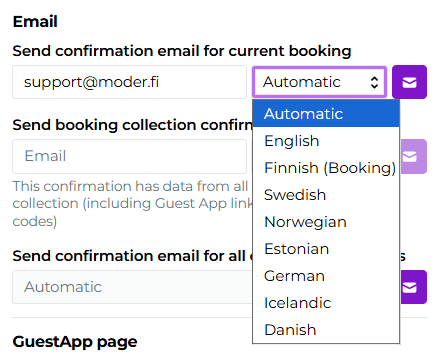
You can also select the desired language for confirmation from the dropdown:
Collection
The heart of Booking Hub can be found in the collection view. With it you can easily manage even large groups and reservation collections.
Expand and close it with this button:
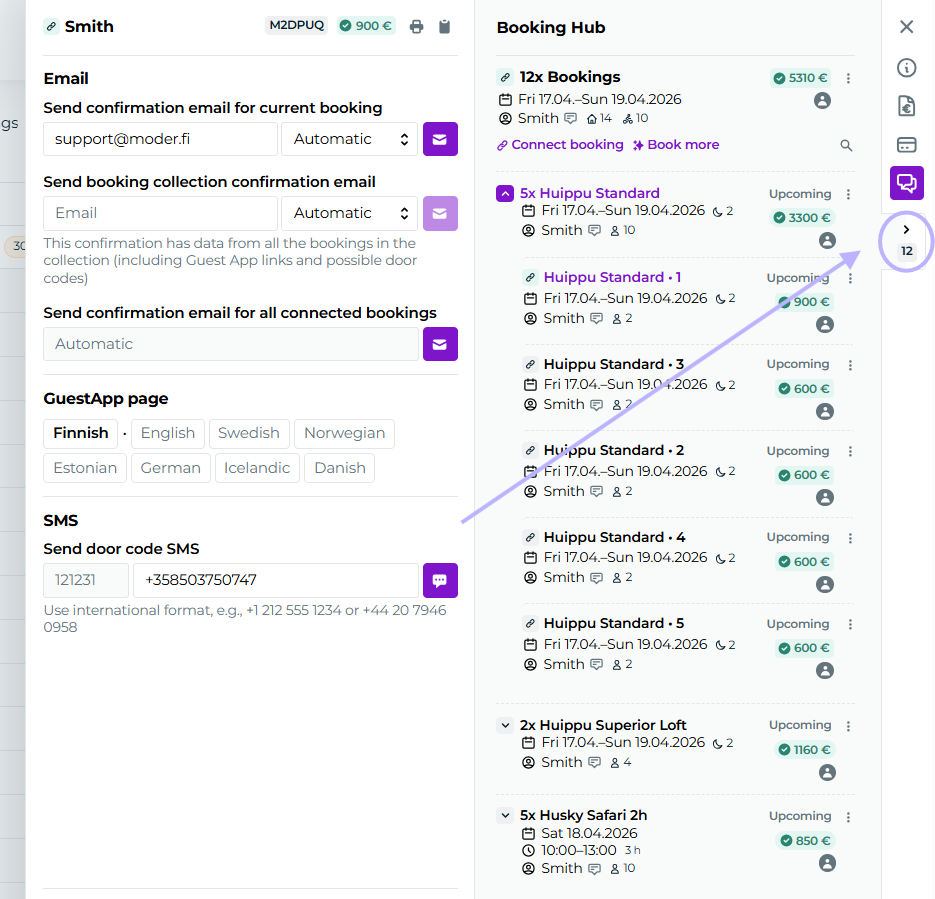
You can also open it simultaneously with the booking preview and other tabs.
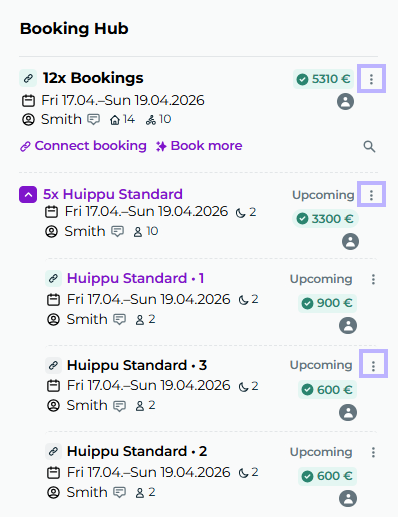
From the top panel you view and manage all reservations in the collection at once:
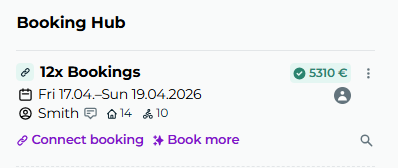
From the top panel, you can connect more bookings to the same collection. For that, use the connect booking -button. With the book more -button, you can create new bookings directly into the same collection.
Below it you can view reservations by room and product types. Using the left arrows you can also open all individual reservations for the product to be examined:
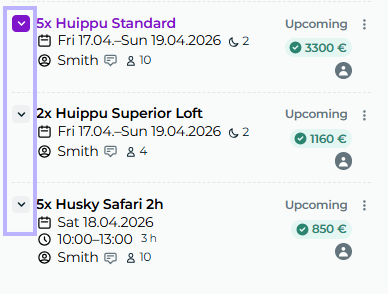
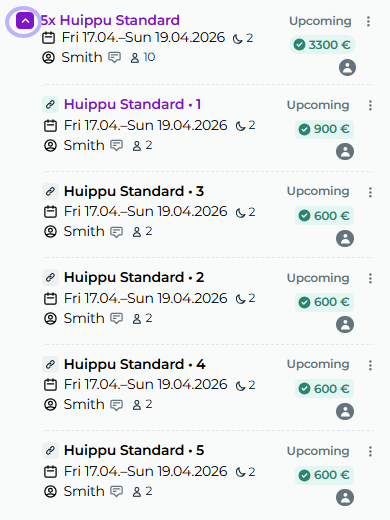
Let's see what the opened view looks like. In the sample collection, 5 Huippu Standard rooms are booked, each accommodating two people:
With the fast and easy three‑dot quick menus you can also check a customer in, book more, edit, move booking, or even cancel:
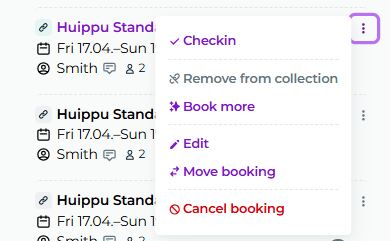
Quick menus can be used to manage all reservations of a collection, all reservations of a product type, or a single individual reservation:
Keyboard shortcuts
ESC= close viewCMD/CTRL+F= open search bar in collection (if the collection has more than one reservation)CMD/CTRL+C= copy reservation numberCMD/CTRL+I= expand/collapse collection panelCMD/CTRL+B= expand/collapse bookingSHIFT+Arrow Right= First collapse the collection panel, then the reservation panelSHIFT+Arrow Left= First expland the booking panel, then the collection panel