Booking engine - Moder webshop
Last updated: April 13, 2026
This article covers Moder webshop settings.
Property
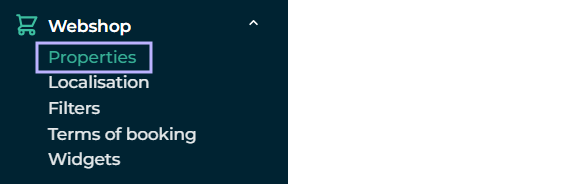
In the Properties section defines your company's properties. A location can be physically different location or separate online store, such as an activity marketplace, which operates as its own sales channel.
You can create one or multiple webshops according to your business needs. The only restriction is that all stores built on Moder share the same business ID and payment service account. If branches or parts of the business are managed with different business IDs, each must establish its own Moder.
Basic Information
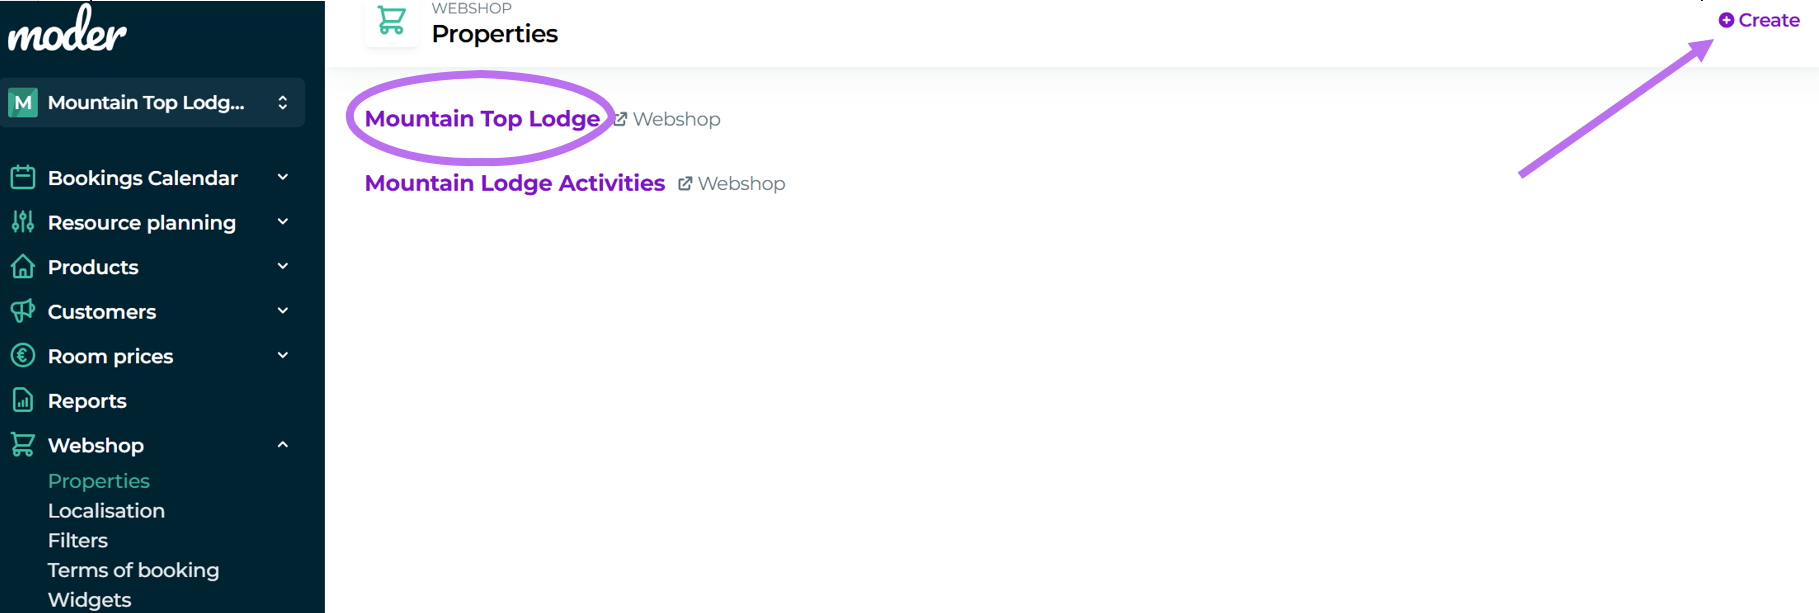
Start by creating a new office by clicking the New button at the top right. You can edit the office's information by clicking the office name again whenever you wish.
You may also already have one office created, which you can edit from the pink button, which in the example below is marked with a pink square named "Hotel rooms."
Add your location first name and Moder network address.
This name will appear on the main page of your online store. The Moder network address is the suffix of the store URL and can be changed if desired.
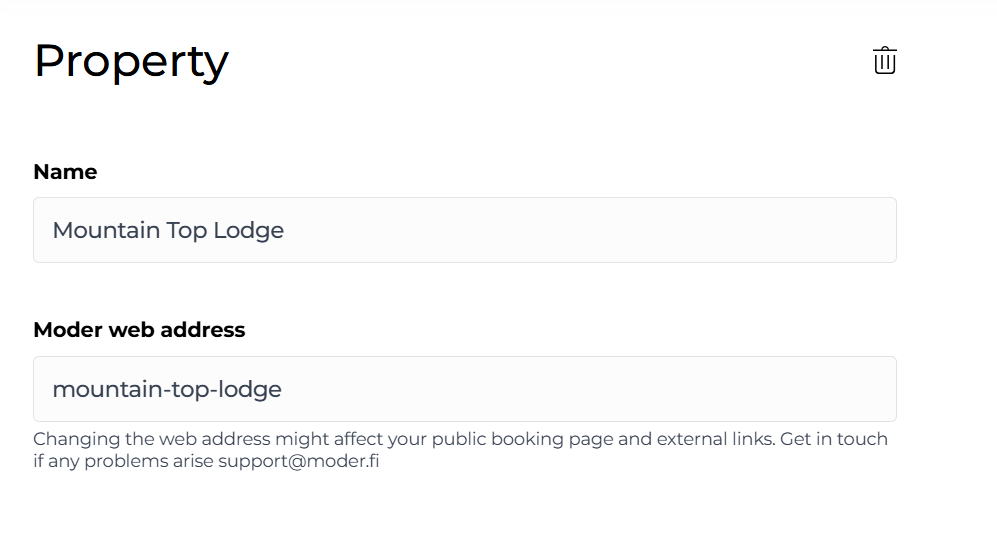
In this example, the location name displayed in the online store is "Hotel", and the store address app.moder.fi/hotel.
If the Moder URL suffix is changed after the widget, i.e., the embed code, has been taken, it needs to be taken again. If you make changes to this address, it's advisable to make the changes before you take the widget out.
Description texts
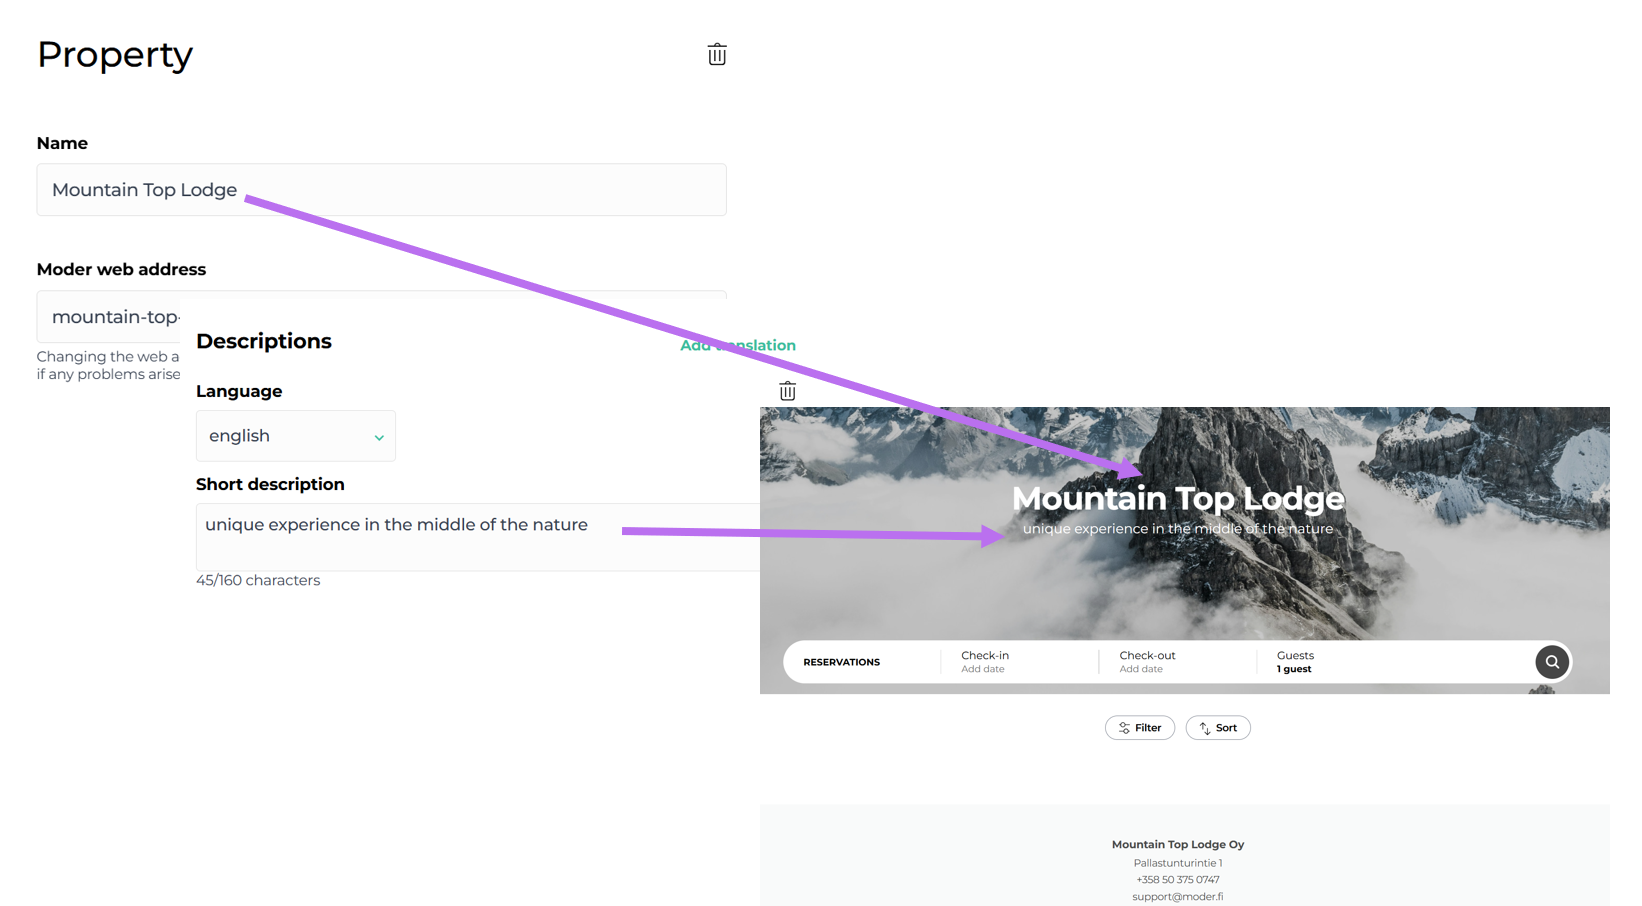
In the Description texts section you can add a written description for your accommodation, which appears in the online store below the location name. You can also provide translations of the description into different languages so that it serves a broader customer base.
How to set a written description for an accommodation
Click Add translation
Select your desired language from the dropdown
Write your description text
Repeat for all languages you want
Main image
From the Main image section you can upload a main image for your property, which will appear in the online store behind the name of the item. If a main image is not added, the default background image of Moder will automatically appear for the item.
You can select the main image either by browsing for the image file or by dragging-and-dropping the image onto the gray area.
Logo
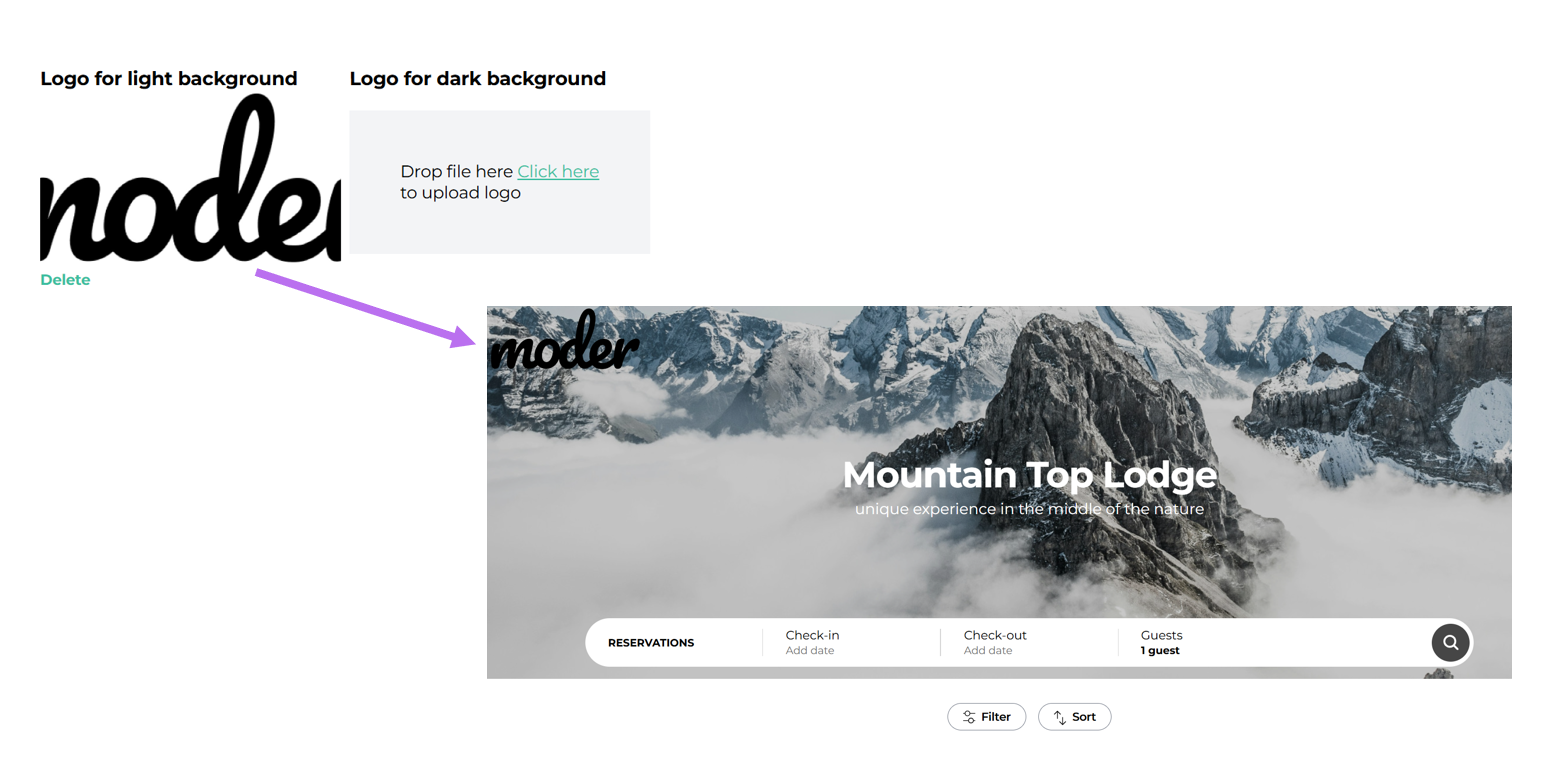
You can also add a logo to your item, which will appear on the front page of the online store, in the upper left corner of the main image.
It's recommended to upload the logo as PNG or SVG.
How to add a logo
The logo can also be added either by browsing your files or by dragging (drag-and-drop) onto the gray area of the image.
Highlight Color
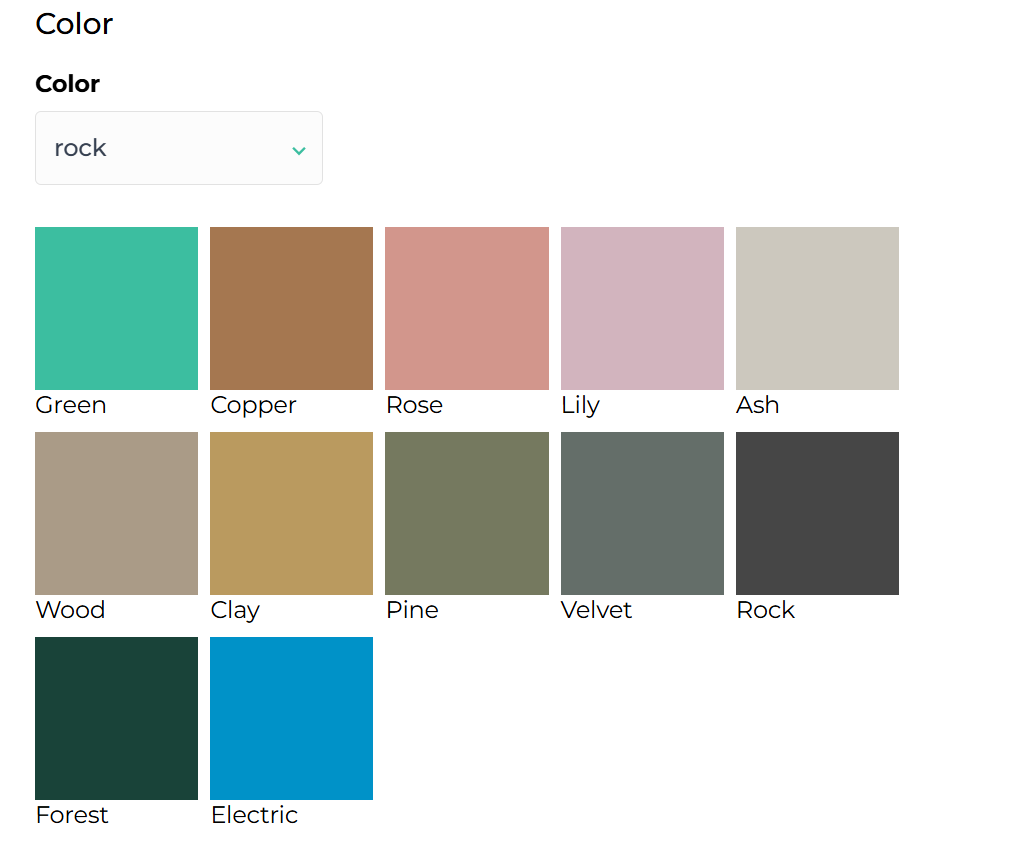
Color -section you can select the highlight color that will appear on your webshop's buttons.
Below you see the color options available in Moderi.
How to save the color
Select the color from the dropdown menu and press save.
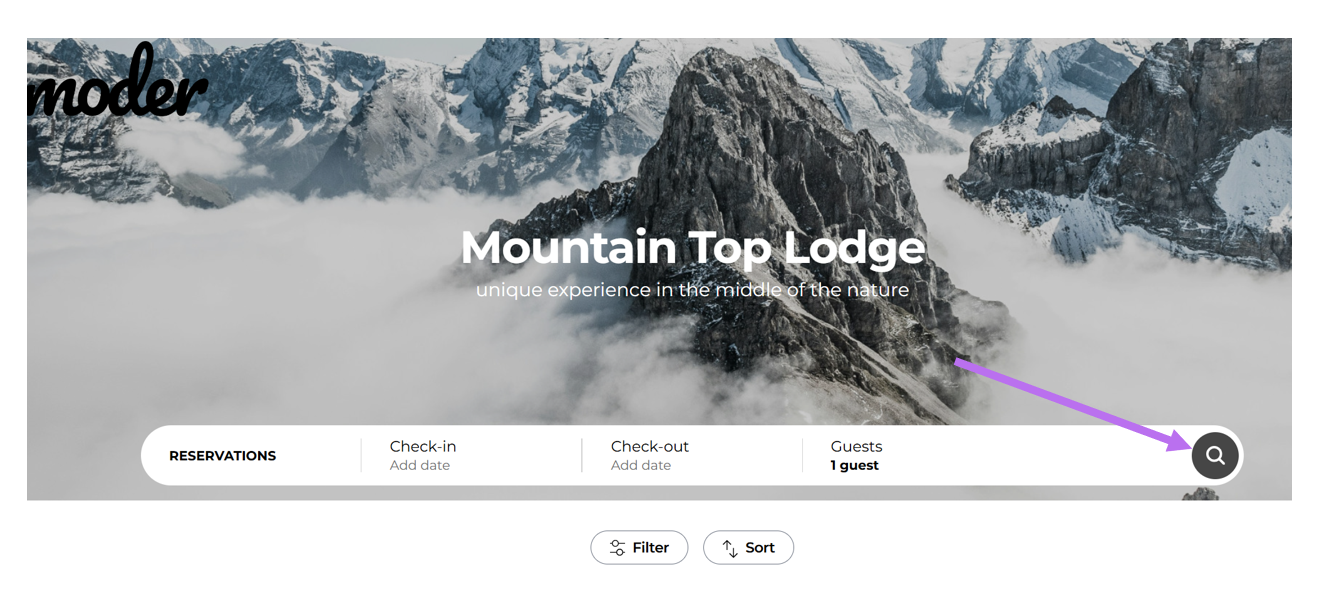
And here's how the new color appears immediately on the front page of your online store:
Is published (can be booked)
When you click the checkbox Active location (can be booked), the location will appear in the online store. If no checkboxes are placed here, the location cannot be found via the store's URL, and Moder will complain that the page cannot be found.
SMS Settings --> Sender Name-field can contain the SMS sender's name, if automatic SMS for key codes are available. The name may contain up to 11 letters/characters.
Analytics
In Modern's online stores you can manage customer movement after a purchase and track customer purchasing behavior using Google Analytics or Google Tag Manager.
In the Analytics section you can add a Google Analytics GA4 measurement ID, if you use Google Analytics. See this guide from our support service, if you need help finding the GA4 measurement ID. Alternatively you can add a Google Tag Manager Container ID to the Analytics section.
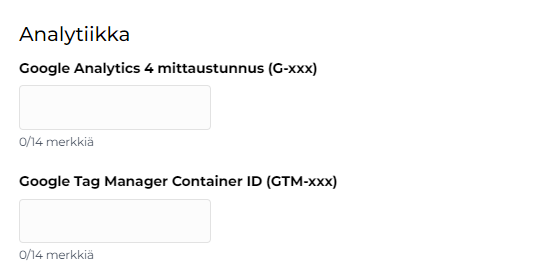
If you have Google Tag Manager in use, Google Analytics must also be handled through it.
Redirect
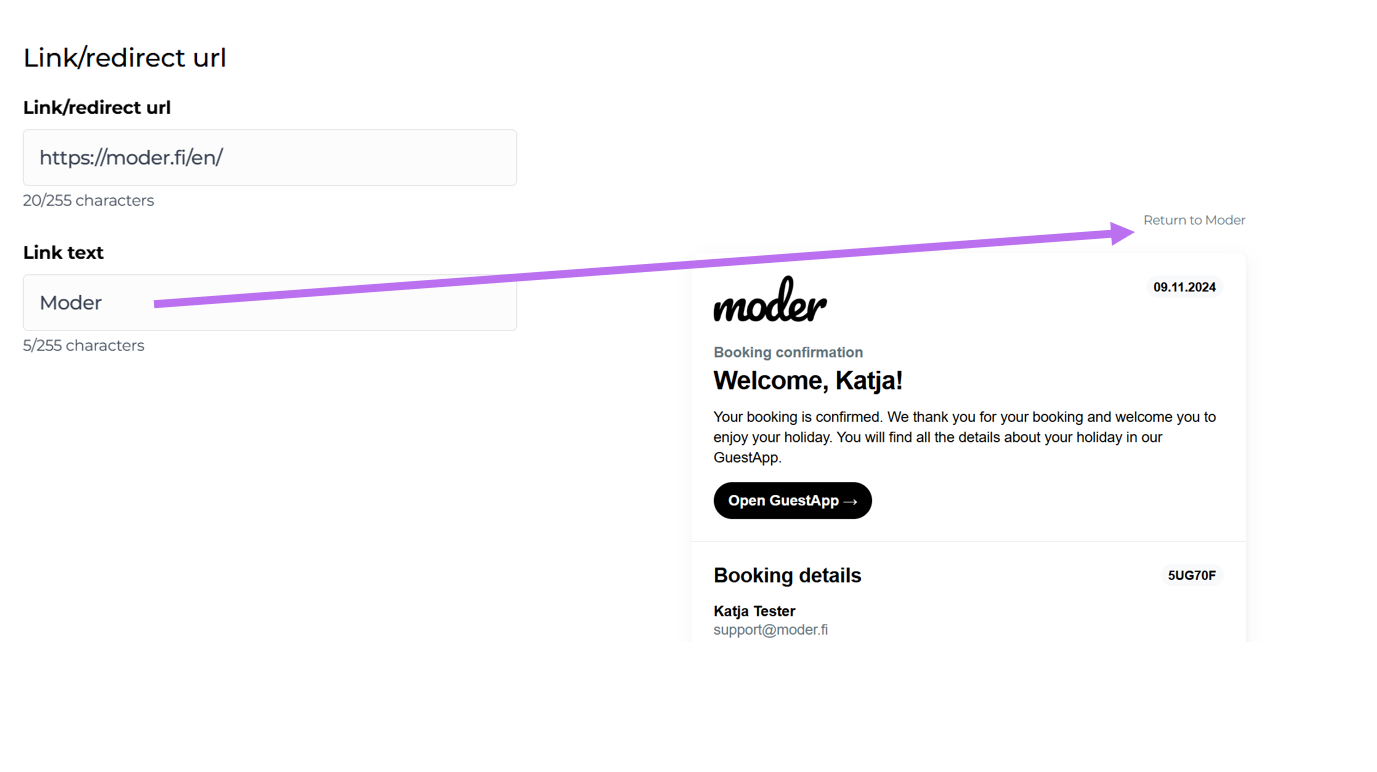
Redirect-setting allows you to define where the customer ends up after making a reservation. At the top of the reservation confirmation there is a default link that returns the customer back to the online store.
However, if you want the customer to be redirected to your website or even to a welcome page, you can set it here.
How to set up a redirect
Add to the "Link/redirect after booking" its page URL to which you want to direct the traveler
Write in the "Link text" the text you want visible to the traveler
Confirmation emails
In Confirmation Emails -field you can add all the email addresses you want, to which you want reservation confirmations for new bookings to be sent automatically. The number of emails is not limited, so you can add as many addresses as you want (separate the email addresses from each other with line breaks).
Moder sends a confirmation email by default only for bookings made through Moder. If you want the confirmation email to be sent also for bookings made via external sales channels, remember to check the box for "Send confirmation message also to bookings received from external sales channels".
Please note that the email copy of the reservation confirmation you receive does not contain a link to the customer's GuestApp. The GuestApp link is provided only on the reservation confirmation sent to the customer. Additionally, the language of the copy of the reservation confirmation you receive depends on the language set as the company's default language in Settings --> Localization.
The language of the reservation confirmation received by the traveler, on the other hand, depends on the booking language: if the traveler made their reservation through the Finnish-language Moder online store, they will receive a Finnish-language confirmation. If they made the reservation through the English-language online store, they will receive an English-language confirmation, etc.
Please note that a reservation confirmation is not sent automatically for bookings made in the backend; they must be manually sent if needed.
Localisation
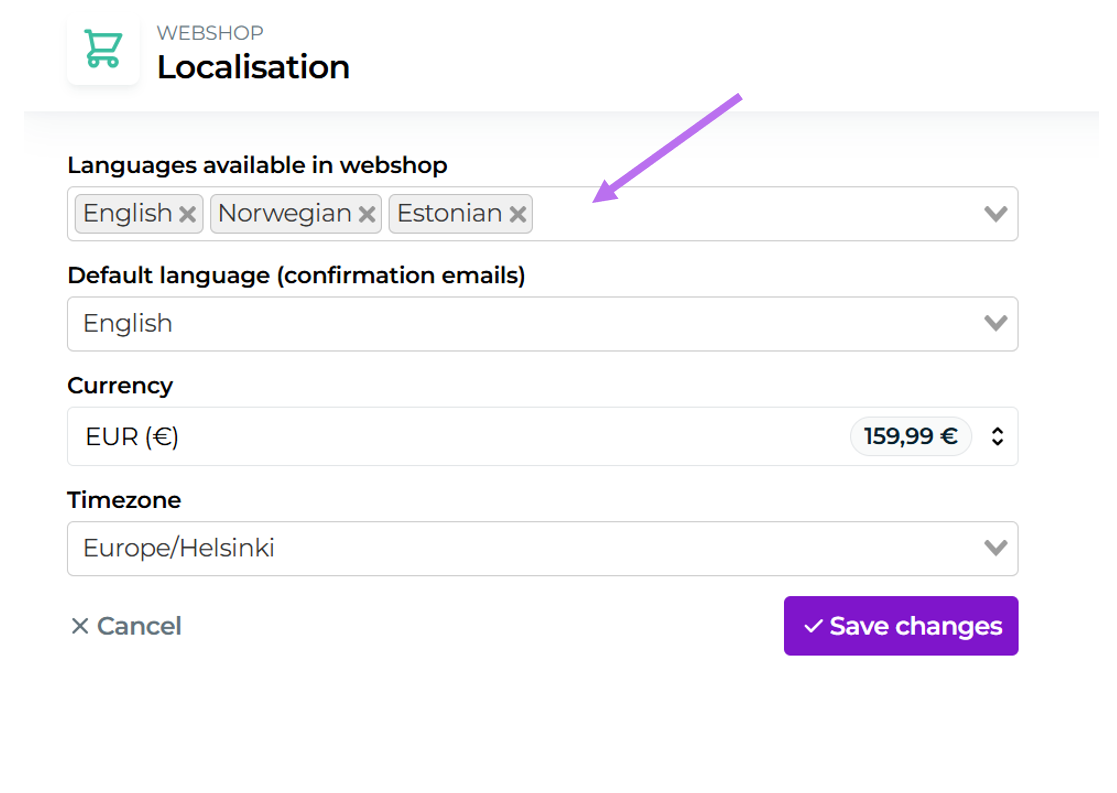
Here you can define three important features for your online store and backend system:
languages in which your online store is available
Default language of the reservation confirmation email: This language is used in the reservation confirmation if no language is specified in the reservation. This is also the language in which you receive all reservation notification emails from Moder (= you get a copy of the reservation confirmation email whenever someone makes a new reservation from the online store)
currency used for pricing
Filters
In the online store section, you can optionally add, for example, different geographical areas where your properties are located. Travelers can use area search as a filter in the online store when searching for accommodation.
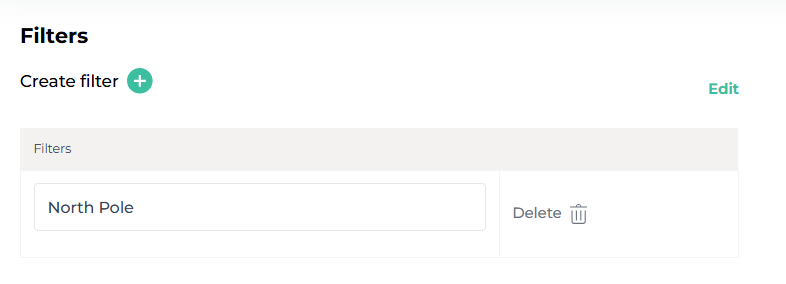
You can link the areas you added from the webshop section to a specific cottage or location by going to the editing settings of that location on the Location page.
Terms of booking
Here you can enter your terms. The terms of bookings can be entered in different languages. The file must be uploaded in PDF format and their acceptance is a mandatory step in the reservation phase of Moder's online store.
To upload the terms, first select the language of the terms from the dropdown -> click "Choose file" -> click "Send".
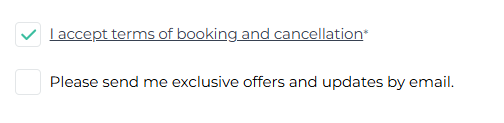
The traveler can, if desired, read the reservation terms while finalizing the reservation by clicking to open them from the link shown in the image below.
Widget
From the Widgets section you can create a reservation bar widget for your property or a single product, which you can embed on your website for reservations. Creating the widget:
Select the target for which the widget is created
Select "no room type" if you want all your room types to be bookable from the webshop
Select the widget language (choose "automatic" if your webshop has multiple language versions. In that case the webshop will automatically detect the language based on the customer's browser language selection. If a language for the customer has not been created in your webshop, Moder will automatically redirect the customer to the English-language pages).
Ask the administrator of your website to embed the widget on your website.
Below is an example of how the reservation bar widget appears on a website. After selecting the days and the number of people, pressing the search button takes the traveler to your company's Moder webshop (app.moderi.fi/[branch web address])
